⁉️ What it is, and what is not?
ℹ️ How it works?
🆕 Why was it created?
1. DTails is a TOOL.
DTails IS NOT a distribution or fork of any GNU/Linux distribution. I DO NOT distribute any .iso/.img .
You build it. 🤙
2. The Idea came when ...
----
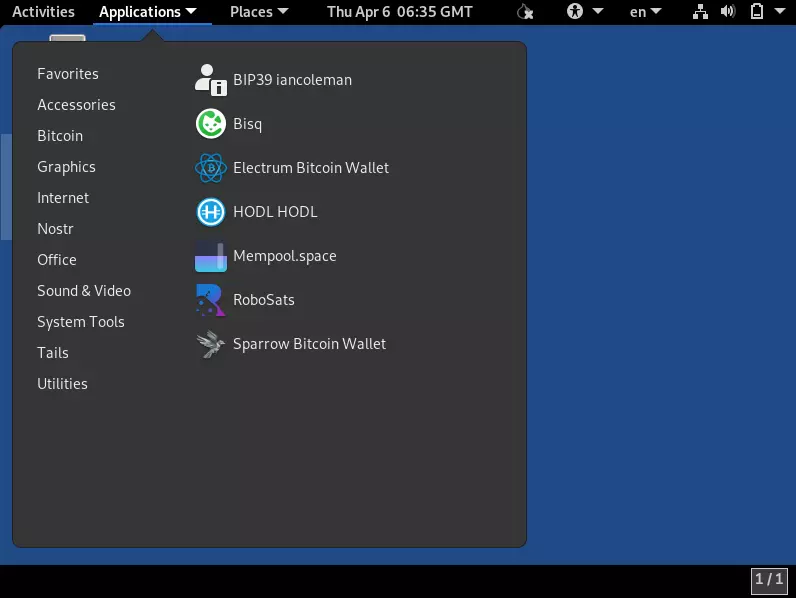
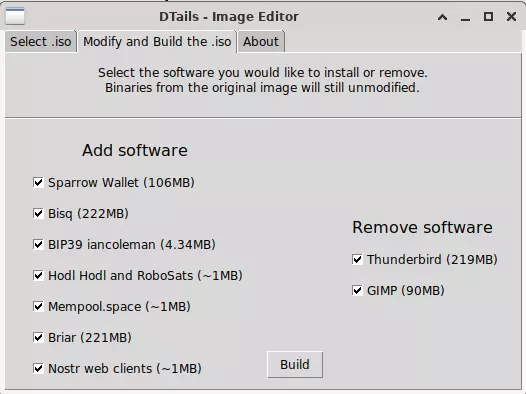
-----
I saw the people needs of having concrete software in the Live CDs/DVDs/USBs which are not included on the repositories and so.
So based on my experience, I knew that was something possible and I started to build it. In couple of days I got DTails with GUI ! :) .
Making even simpler the way of modify our images having in mind non-technical people.
This tool should be suitable for all. And it was accomplish! Very easy to install, quite easy to launch and easy to VERIFY!
That is because it will not remove any file involved to the build.
So... 🛠 How it works?
Trying to make this explanation simple for all, here comes a quick and understandable definition step by step.
🧶...
(sudo is needed for many of this tasks)
1. We create the directories were we will work on (iso_mounted, future_iso, shared_with_chroot & system_to_edit)
2. We get the .iso/.img and we mount it in iso_mounted [1º img]
3. We get the read-only squashfs file and we "unwrap" it.

The unwrap squashfs is placed in (system_to_edit).
❗️ There is located the whole operating system files, parameters, configuration, software, libraries...
4. We download the files needed from host into (shared_with_chroot) *The version of our future modified image will never be connected to internet!
5. Time to mount /dev, /run & shared_with_chroot to be able to work nicely in our CHROOT JAIL.
6. We get into our chroot (system_to_edit) and we launch the script that DTails make & then will exit after doing all the steps. ("script" file)
Chroot is like to have another OS inside our in a Jail...
https://en.wikipedia.org/wiki/Chroot
6. Once everything is made in our chroot jail we NOW build our final image
7. Umount the mount points/directories.
Extra: If you want to remove all.
Just open ./dtails again a NEW button is goin to appear. Just click on - Clean old build -
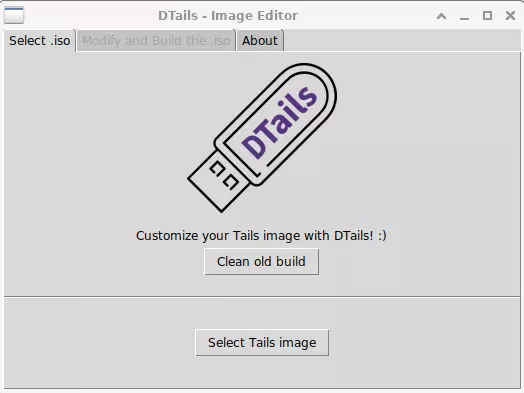
But beforer doing that ‼️...
🛂 Manual verification phrase:
Go to (shared_with_chroot).
There are all the files that interacted with our chroot.
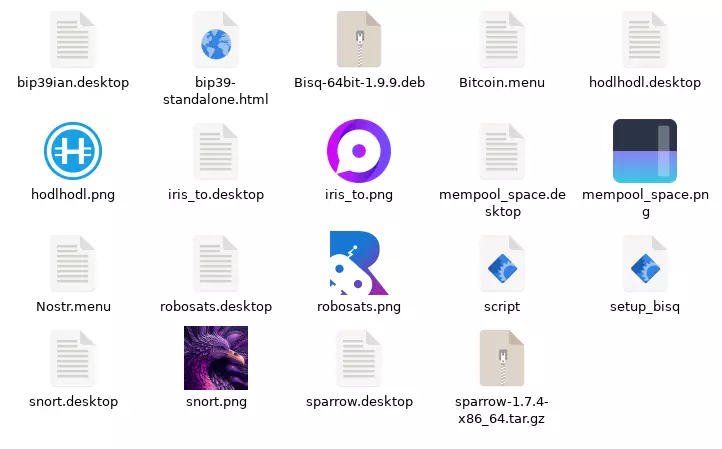
After you get in, you can go and verify hashes, the "script" file and everything you want to 🤗.
You can also get into the chroot jail manually with:
sudo chroot system_to_edit
Then you will be in your future final image. So you can do and check all you want too!
That was all!
Thanks for read it.
If you have questions just write those here or add an Issue in Github or in Discussions tab.
----
✅ Mostly what I explained, but in real code...
I tried to comment everything, to get all understand what does every single line of code: 👇👇👇
https://github.com/DesobedienteTecnologico/dtails/blob/main/commands.py#L119-L162
⚡ dt@getalby.com
⛓️ http://btcpay.desobedientetecnologico.com
:)
